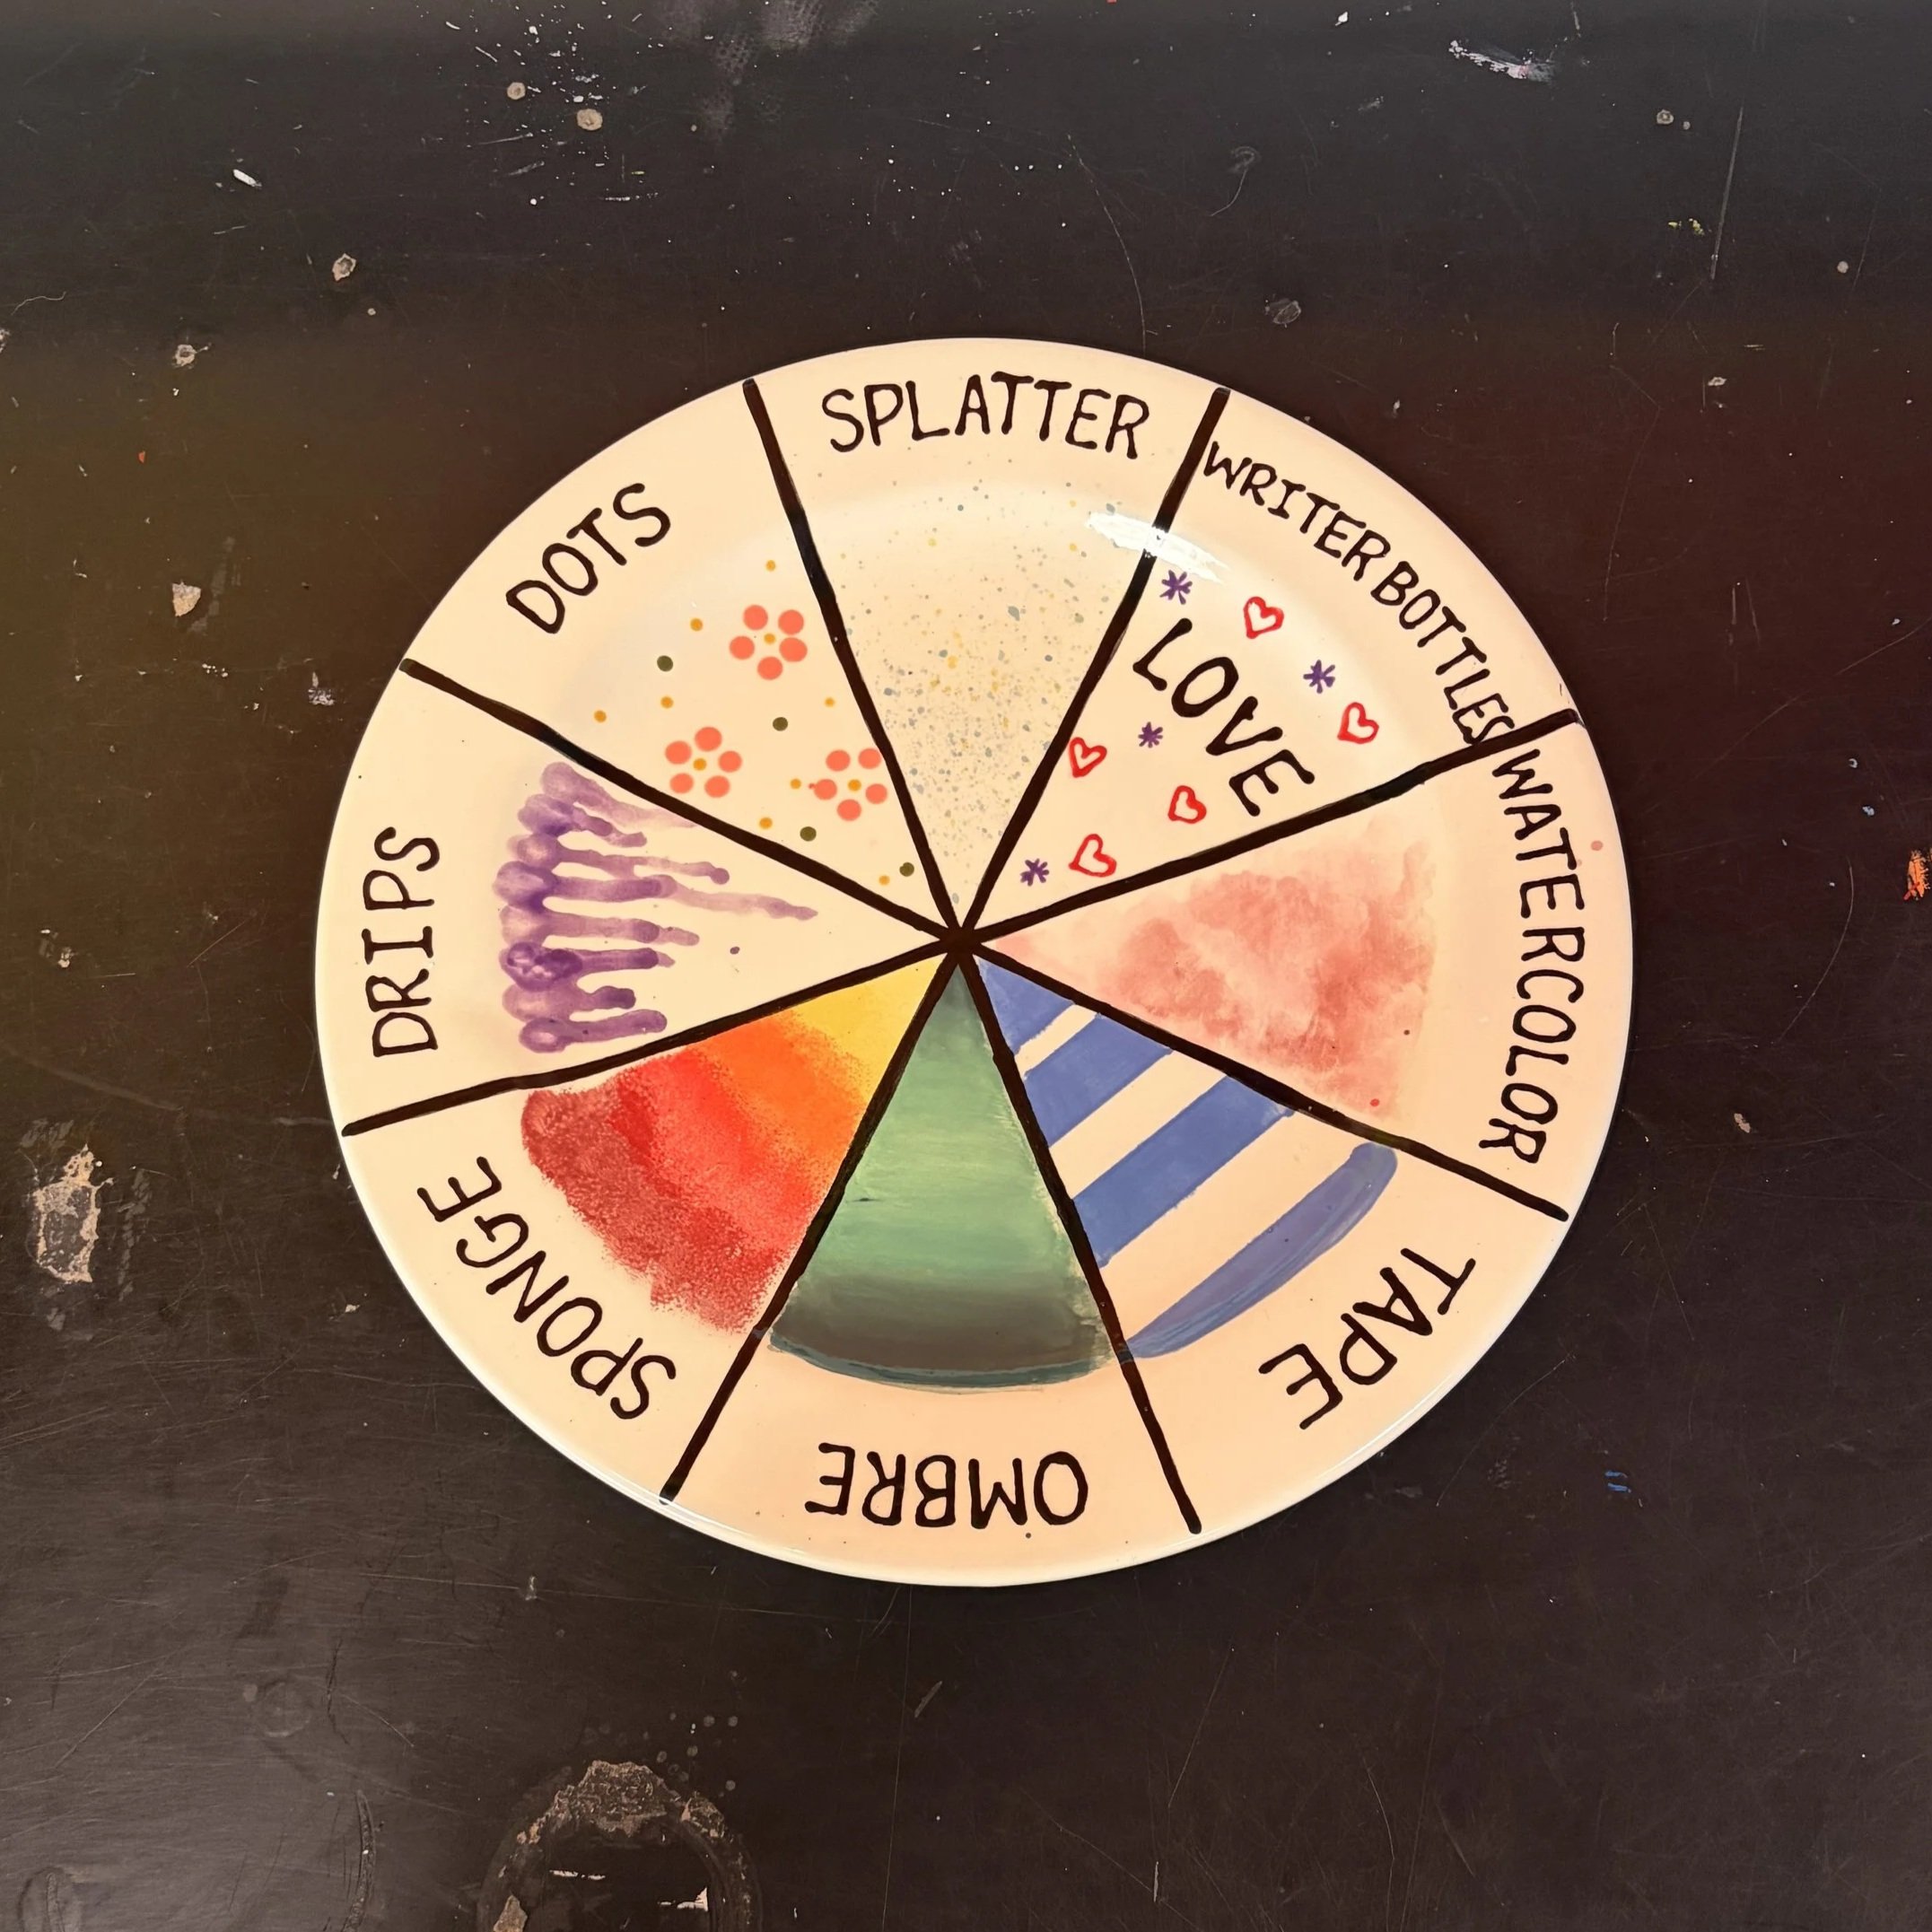
Techniques: Ombre
Watch this tutorial or read our instructions below to learn how to do an ombre effect on your piece!
Have you ever wondered how to create a beautiful ombre effect on your pottery? It may look complicated, but it's actually much easier than you think!
To get started, choose at least two colors, although we recommend using three or four shades of the same color family for the smoothest transition. For this example, we'll be using three shades of teal and green.
Begin by creating your transition colors. Mix your darkest color and your middle color together in a 1:1 ratio. Then, mix your middle color and your lightest color together in a 1:1 ratio. This will help create a seamless transition between your colors.
Next, use each color to paint horizontal or vertical guide lines across your piece. Start with your darkest color, followed by the dark/middle mixture, then your middle color, the middle/light mixture, and finally your lightest color. These guide lines will show you where each shade belongs before you begin blending.
Once your guide lines are in place, go back and add more paint to each section. Use the same brush throughout the entire process; this will help the colors transition naturally from one shade to the next.
Continue blending where each color meets until you achieve your desired look. The more you blend, the smoother your ombre will become.
And that’s all there is to it!