
Paint Kya the Tiger with Us!
Follow along with us to paint Popcorn Park Animal Sanctuary resident, Kya! Instructions are listed below along with photos and tips.
General Tips: The steps below are just a guide. Feel free to customize your painting however you would like!
Acrylic paint can stain clothes, so we’ve provided plastic aprons just in case!
You will have a piece of foil to mix your paints on. Be sure to leave room on your foil to mix colors. You’ll need a decent amount of space for mixing your whites/blacks/greys at the end! We will refill your paint as needed.
You can go at your own pace, but if you go ahead of the group, please wait to ask questions until the rest of the group is on that step.
1- Trace your stencil with pencil. Place your tissue paper over the front page of the printed stencil (with Kya’s whole face & the QR code). Make sure the top right left corner of the tissue is lined up with the top left corner of the stencil paper. Trace the design with PENCIL. Once you’ve traced the front, flip the page over, and match up the design (it will overlap with what you’ve already traced). Trace the the rest of the design.
Tips: Trace as much or as little as you’d like. We’re going to transfer this design to our canvas, so it will be a guide of where to paint. You can do all the details and stripes, or just do her main areas- head, body, ears, nose & eyes.

Step 1
2- Transfer your design with marker. Place your tissue paper on your canvas, and trace the entire design with the fine-tipped marker. Trace slowly so the marker can bleed through. Occasionally, lift up a section of your tissue paper and peak underneath to make sure the marker is bleeding through.
Tips: The marker does not need to be very bold. We are going to cover it up with paint, so it needs to come through just enough for you to see the design.

Step 2
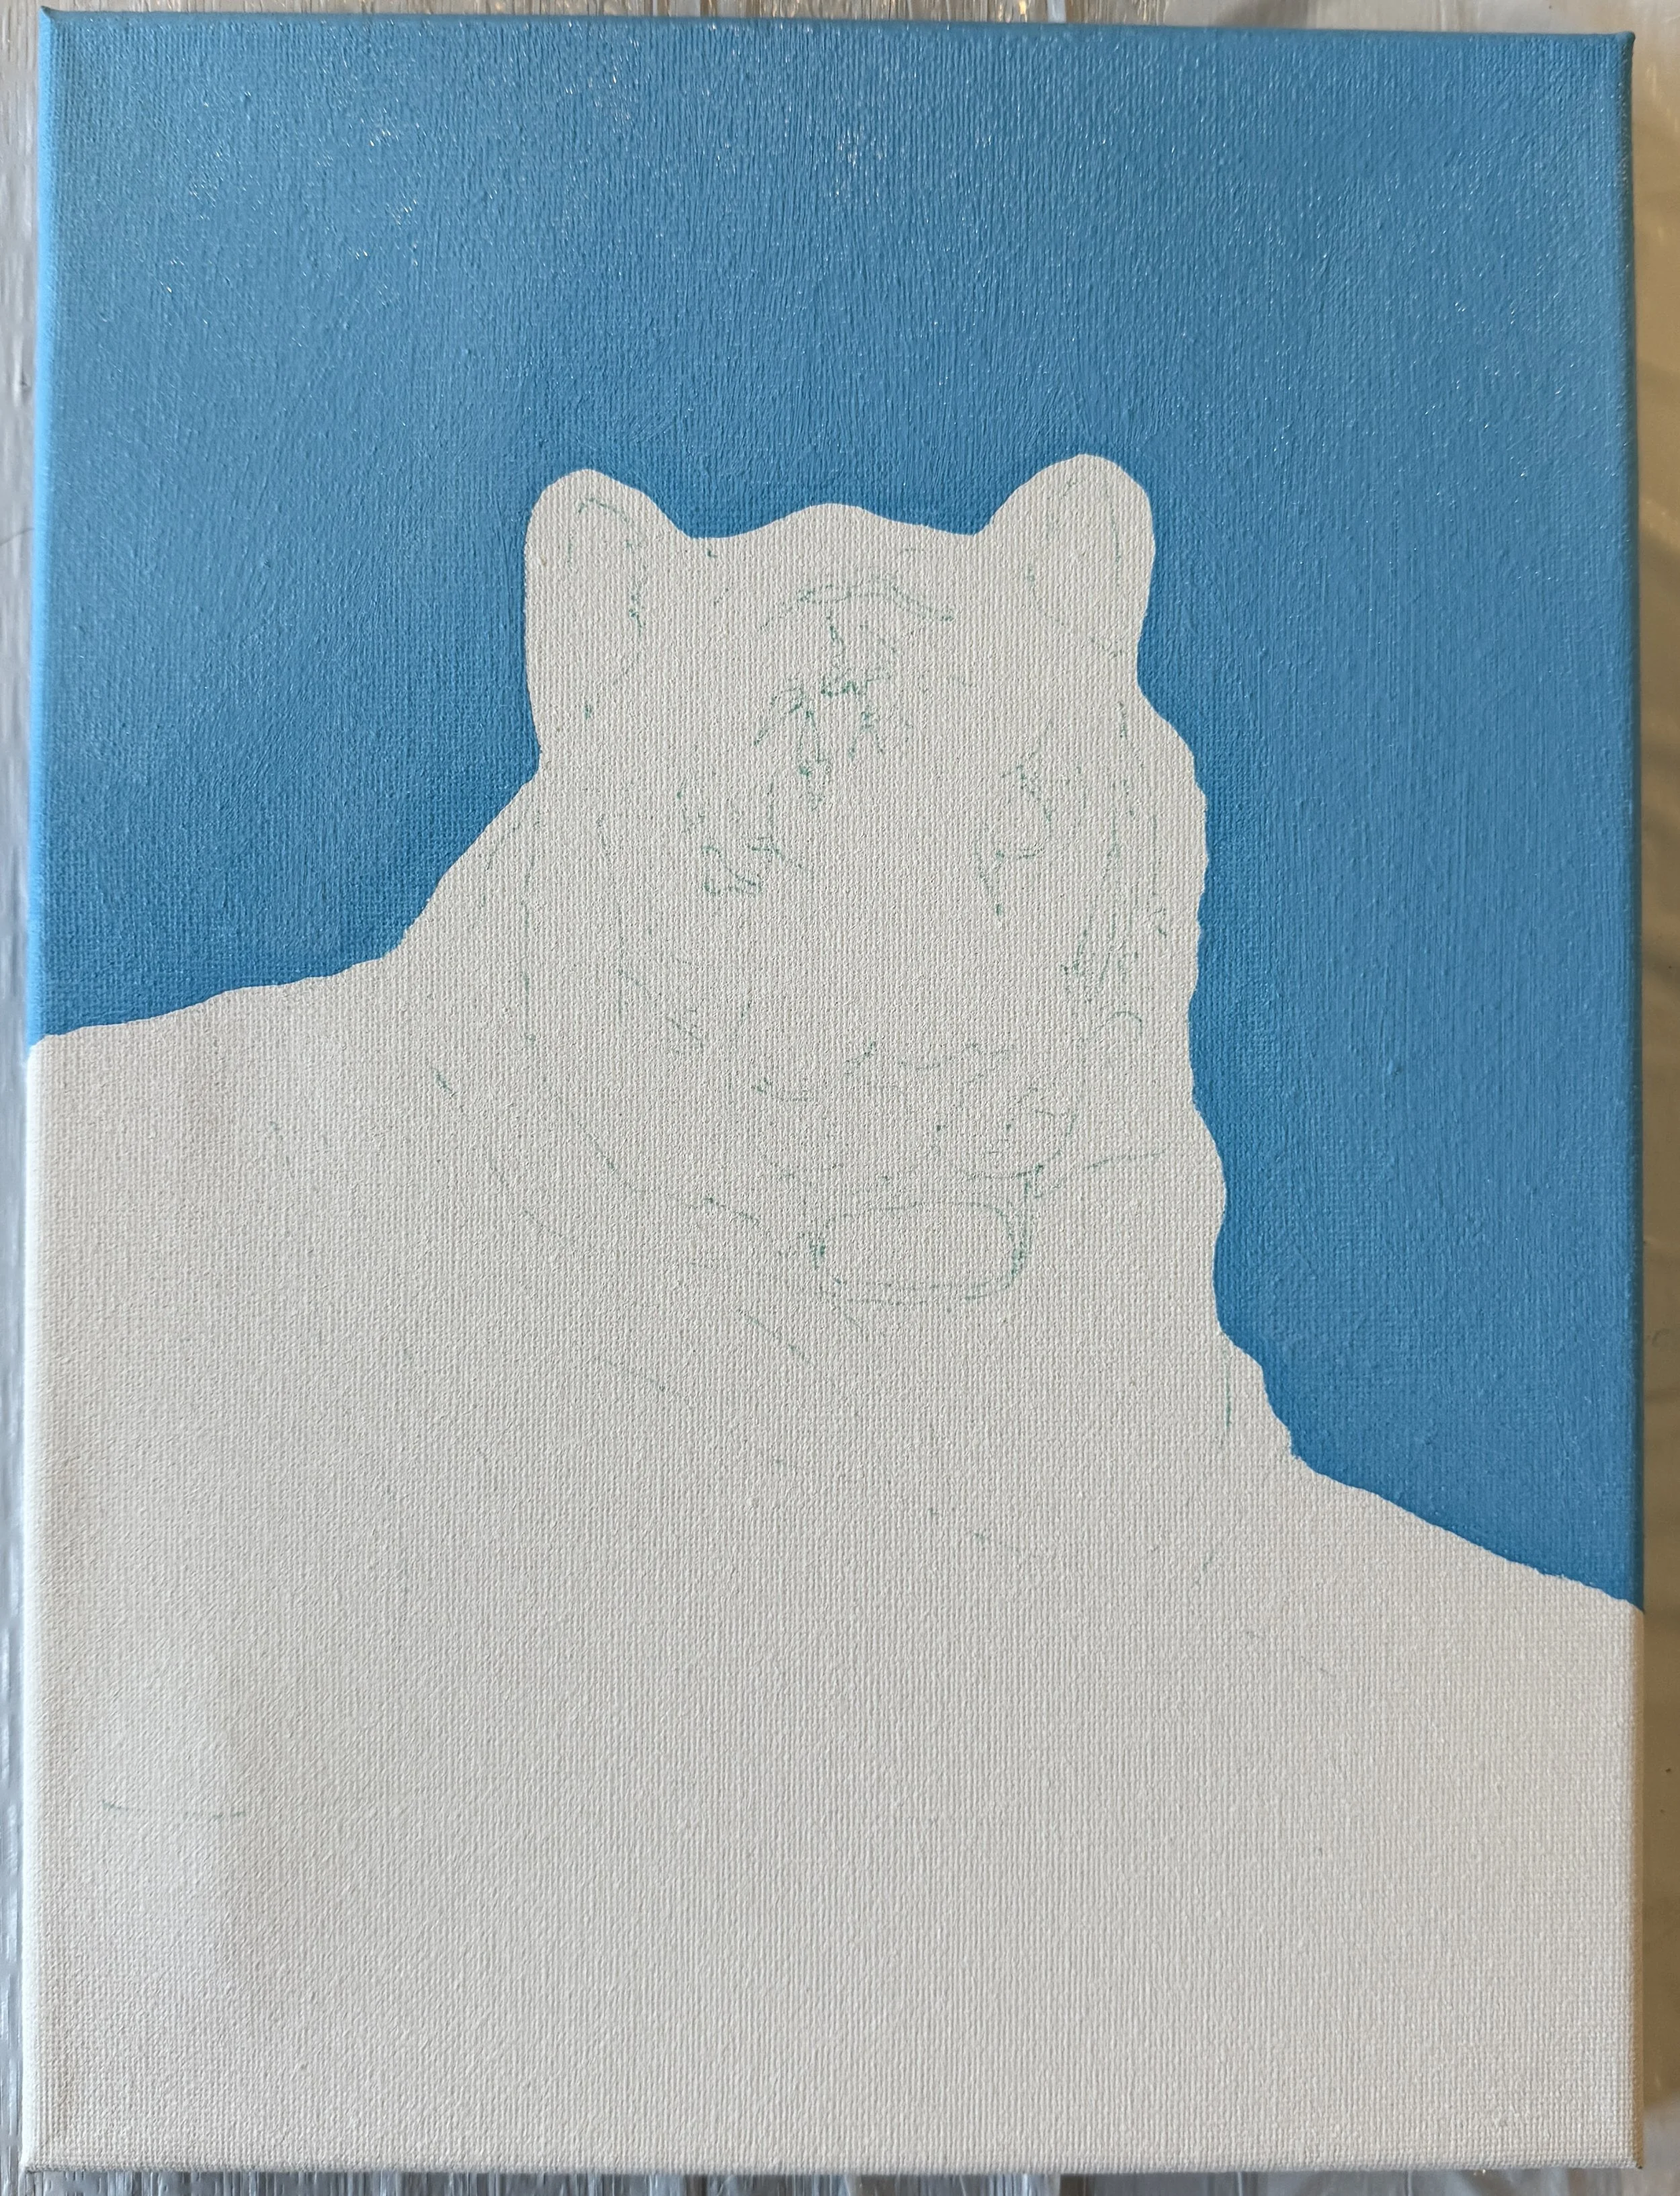
3- Paint the sky. Using your large and/or medium brushes, fill in the sky around Kya. Mix light blue with white until you have your desired shade.
Tips: You can completely cover up your marker outline around Kya with your blue paint. Eventually we don’t want to see any marker. Don’t worry if they’re not perfectly clean lines, we can neaten everything up with the black outline at the end.
Step 3
4- Paint the grass. Using your large and/or medium brushes, fill in the grass under Kya. Mix light green with white until you have your desired shade.
Tips: Remember to cover your marker outline with the green paint.

Step 4
5- Paint her nose & ears. Mix a very small amount of red with white to create pink. Using your small brush, fill in her nose & ears.

Step 5
6- Add shading & paint her eye. Now it’s time to shade Kya. Mixing black and white, use gray to shade and give some depth. Focus on a few main areas- on her face, shade her nose, cheeks, ears & chin. On her body, shade her arms & neck. We want to blend from dark grey to light grey to white. Add white to her body & face as needed as you blend out your grey. Paint her eye white, blending out to grey around the edges.
Tips: You can always add more white if you shade too dark! You can use a VERY SMALL amount of water on you brush to help blend your colors.

Step 6
7- Add her stripes & outline. Using your fine liner brush, outline Kya and add her stripes.
Tips: Mix a drop of water into your black paint to give it a smoother consistency. This will make it easier to do finer lines. Make sure there is enough paint on your brush, and dip your brush back into the paint frequently to load your brush.

Step 7